ArgentBank
I work as a Front-End Developer at the Remede Agency, a web agency. We are developing a full-stack app for a new bank company, ArgentBank.
| TYPE | Web, Education |
| DATE | |
| STACK | React, React-router, Redux-toolkit (RTK), RTK-query, Formik, Toastify, Yup, Swagger |

This project is the n°13 of the OpenClassrooms Front-End learning path.
The problem
Argent Bank is a new bank that is starting up. She’s trying to break into the industry and needs help setting up her app. It needs a web application that allows customers to log in and manage their accounts and profile.
The solution
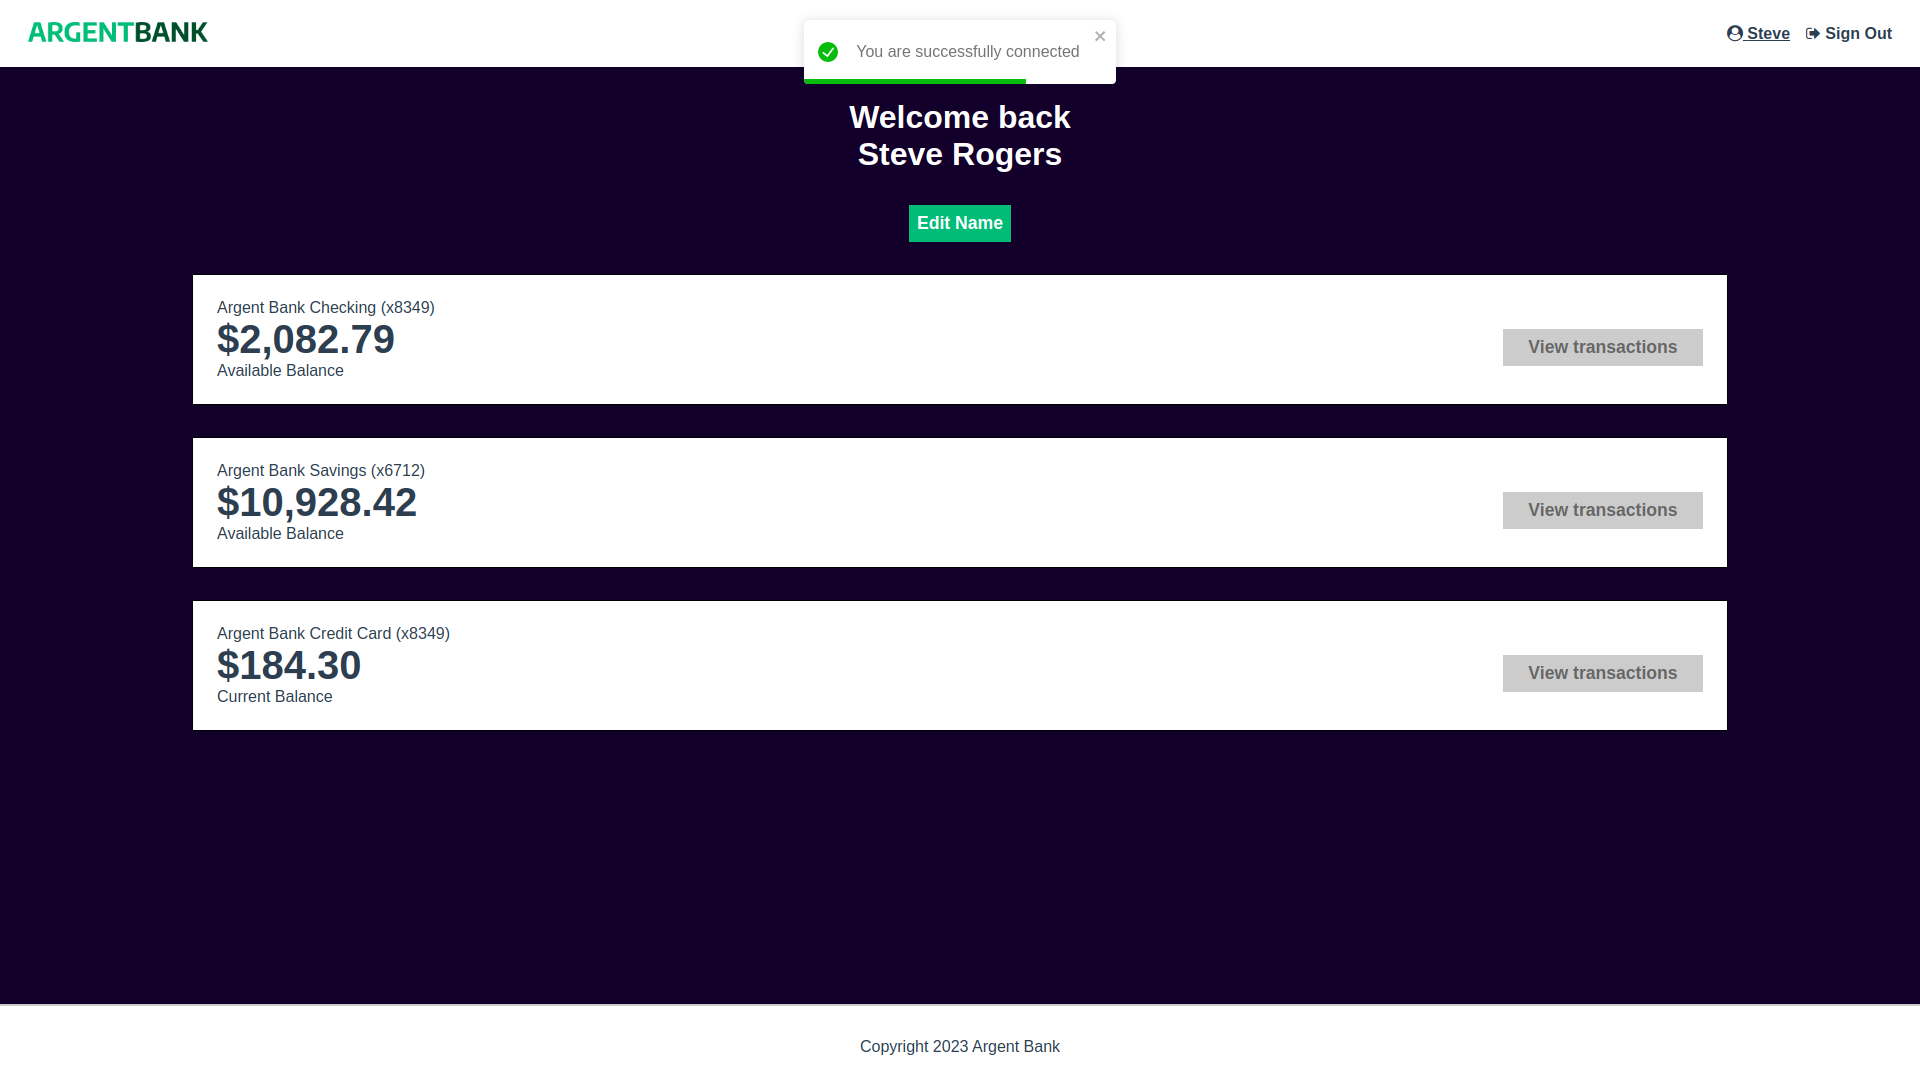
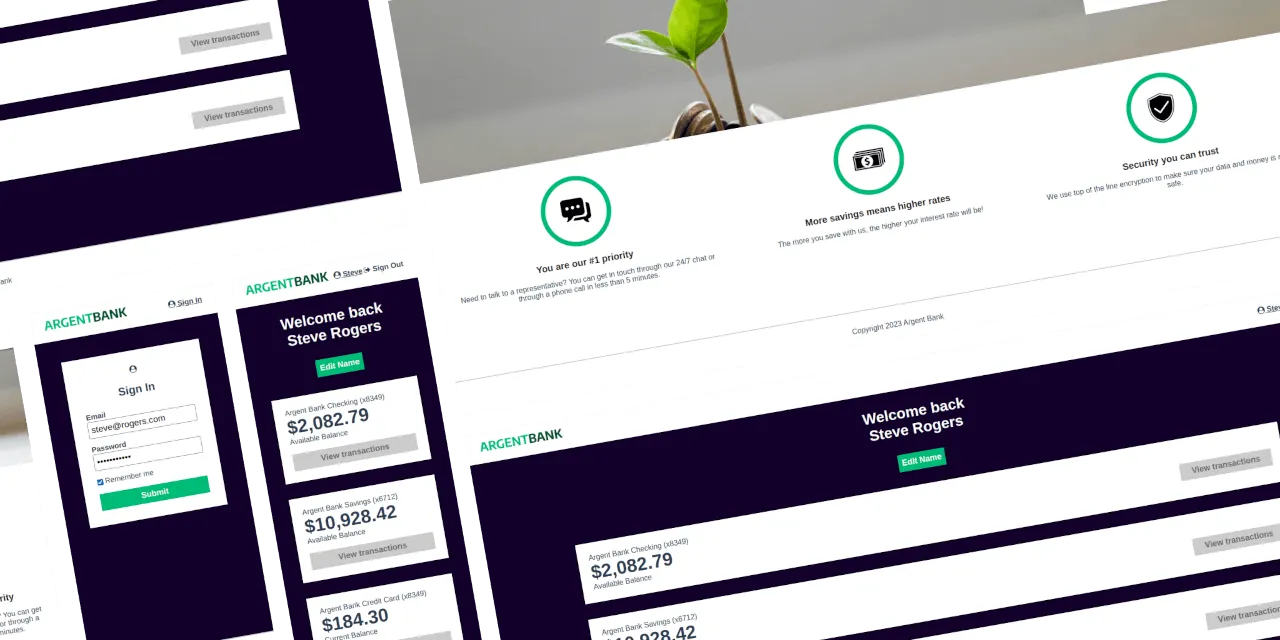
- Build a responsive React App
- Add an authentication system with Redux, according to User Stories.
- Document the new endpoints of the API with Swagger
1. Responsive Web App

2. Authentication system
Vertical Architecture
Using Redux ToolKit, I followed some vertical architecture’s principles : a slice per feature.
├── 📂 app
│   ├── apiSlice.js
│   ├── App.jsx
│   └── store.js
├── 📂 features
│   ├── authSlice.js
│   └── userSlice.js
├── 📂 pages
│   ├── 📂 Error404
│   ├── 📂 Home
│   ├── 📂 Layout
│   ├── 📂 Login
│   └── 📂 Profile
└── 📂 styles
    └── *.scss
Private Route
The first step of authentication was to add a private route with React-Router. The idea is to provide a conditional routing system which renders the Profile page if the user is logged or the Login page instead.
const PrivateRoute = ({ element }) => {
  const token = useSelector(selectCurrentToken);
  return token ? element : <Navigate to="/login" replace={true} />;
};

const App = createBrowserRouter([
  {
    path: '/',
    element: <Layout />,
    children: [
      { index: true, element: <Home /> },
      { path: 'login', element: <Login /> },
      { path: 'profile', element: <PrivateRoute element={<Profile />} /> },
      { path: '*', element: <Error404 /> },
    ],
  },
]);
Form Validation

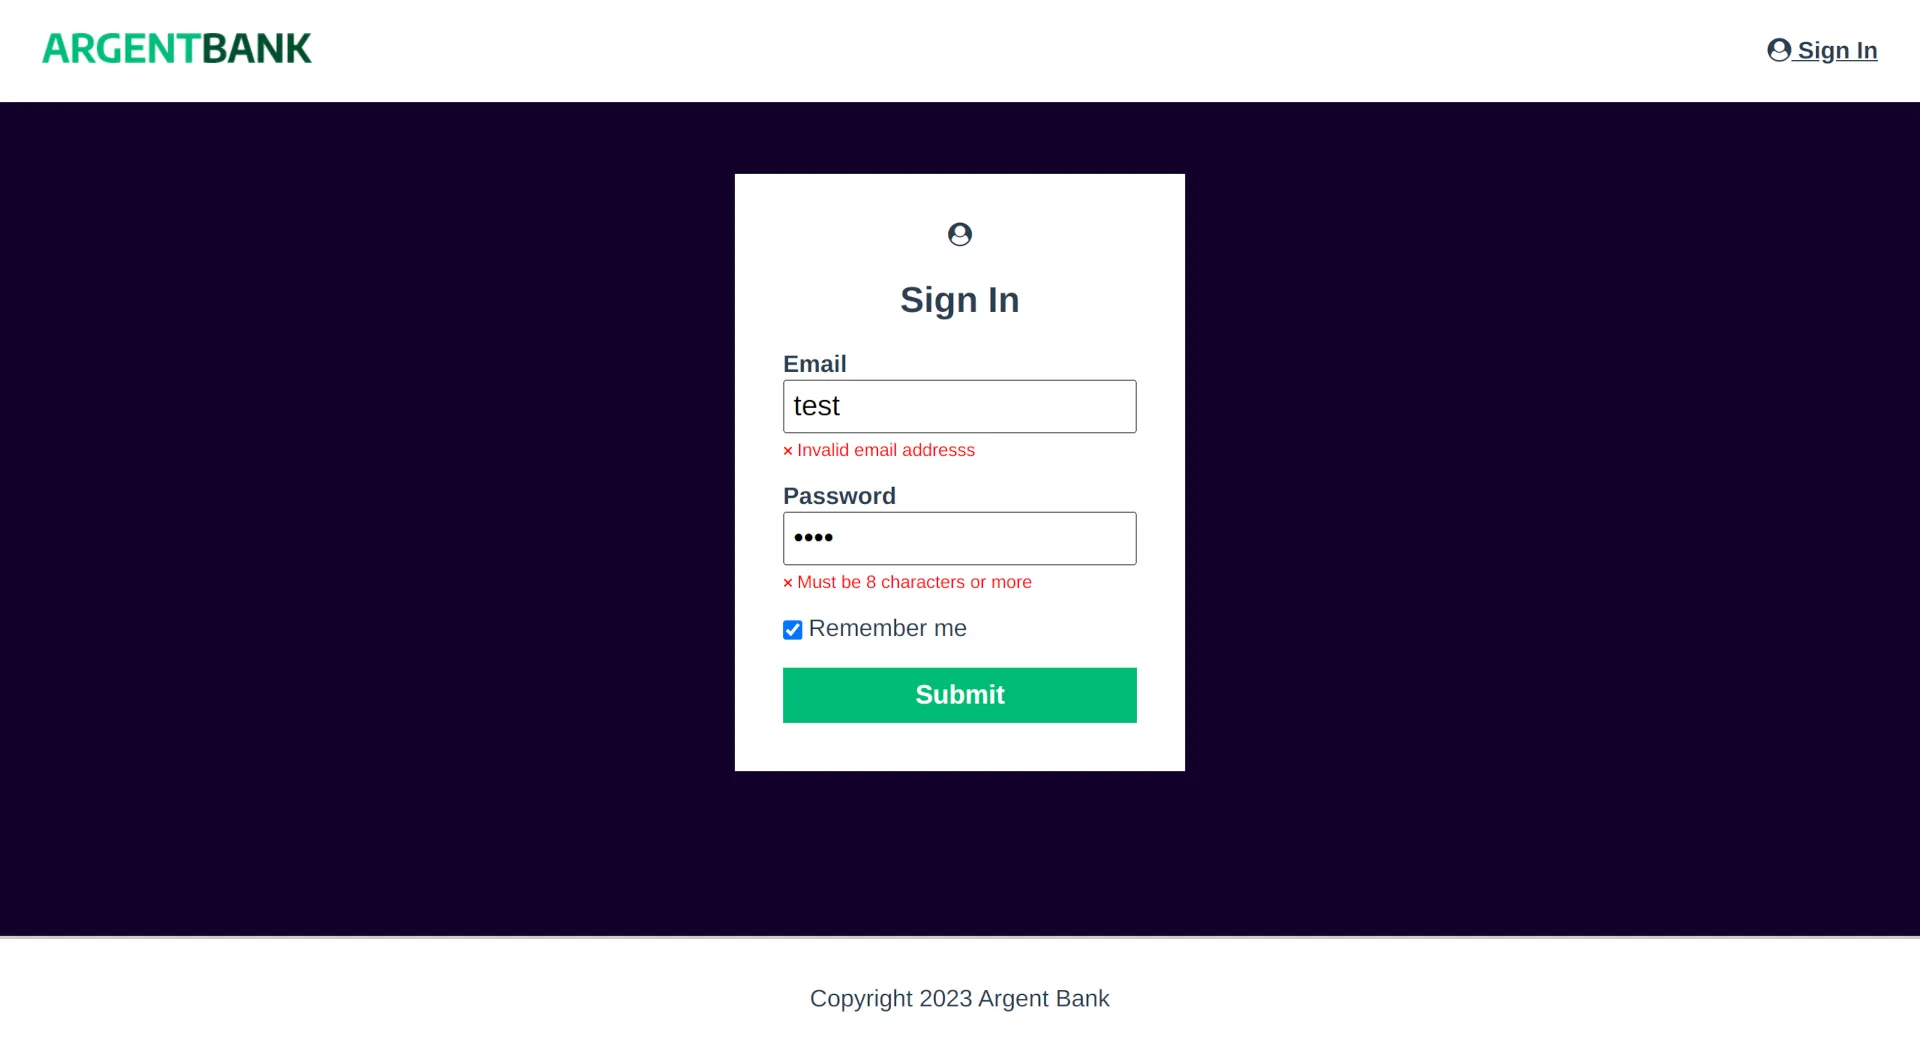
The form validation was handled by Formik and Yup. A visual feedback from Toastify was added to provide a great user experience.
  const validationSchema = Yup.object({
    email: Yup.string().email('Invalid email addresss').required('Required'),
    password: Yup.string()
      .min(8, 'Must be 8 characters or more')
      .max(20, 'Must be 20 characters or less')
      .required('Required'),
    rememberMe: Yup.boolean().default(false),
  });

  const initialValues = { email: '', password: '', rememberMe: false };

  return (
    <Formik initialValues={initialValues}
            validationSchema={validationSchema}
            onSubmit={handleSubmit}>
      <Form>
        <TextInput label="Email" name="email" type="email"/>
        <TextInput label="Password" name="password" type="password" />
        <Checkbox name="rememberMe">Remember me</Checkbox>
        <button className={styles.button} type="submit">Submit</button>
      </Form>
    </Formik> )
RTK
When the form was successfully submitted, RTK stores a token from the server and use it in the Header of every API requests.
export const api = createApi({
  reducerPath: 'api',
  baseQuery: fetchBaseQuery({
    baseUrl: 'http://localhost:3001/api/v1',
    prepareHeaders: (headers, { getState }) => {
      const token = getState().auth.token || localStorage.getItem('token');
      if (!headers.has('Authorization') && token) {
        headers.set('Authorization', `Bearer ${token}`);
      }
      return headers;
    },
  }),
});
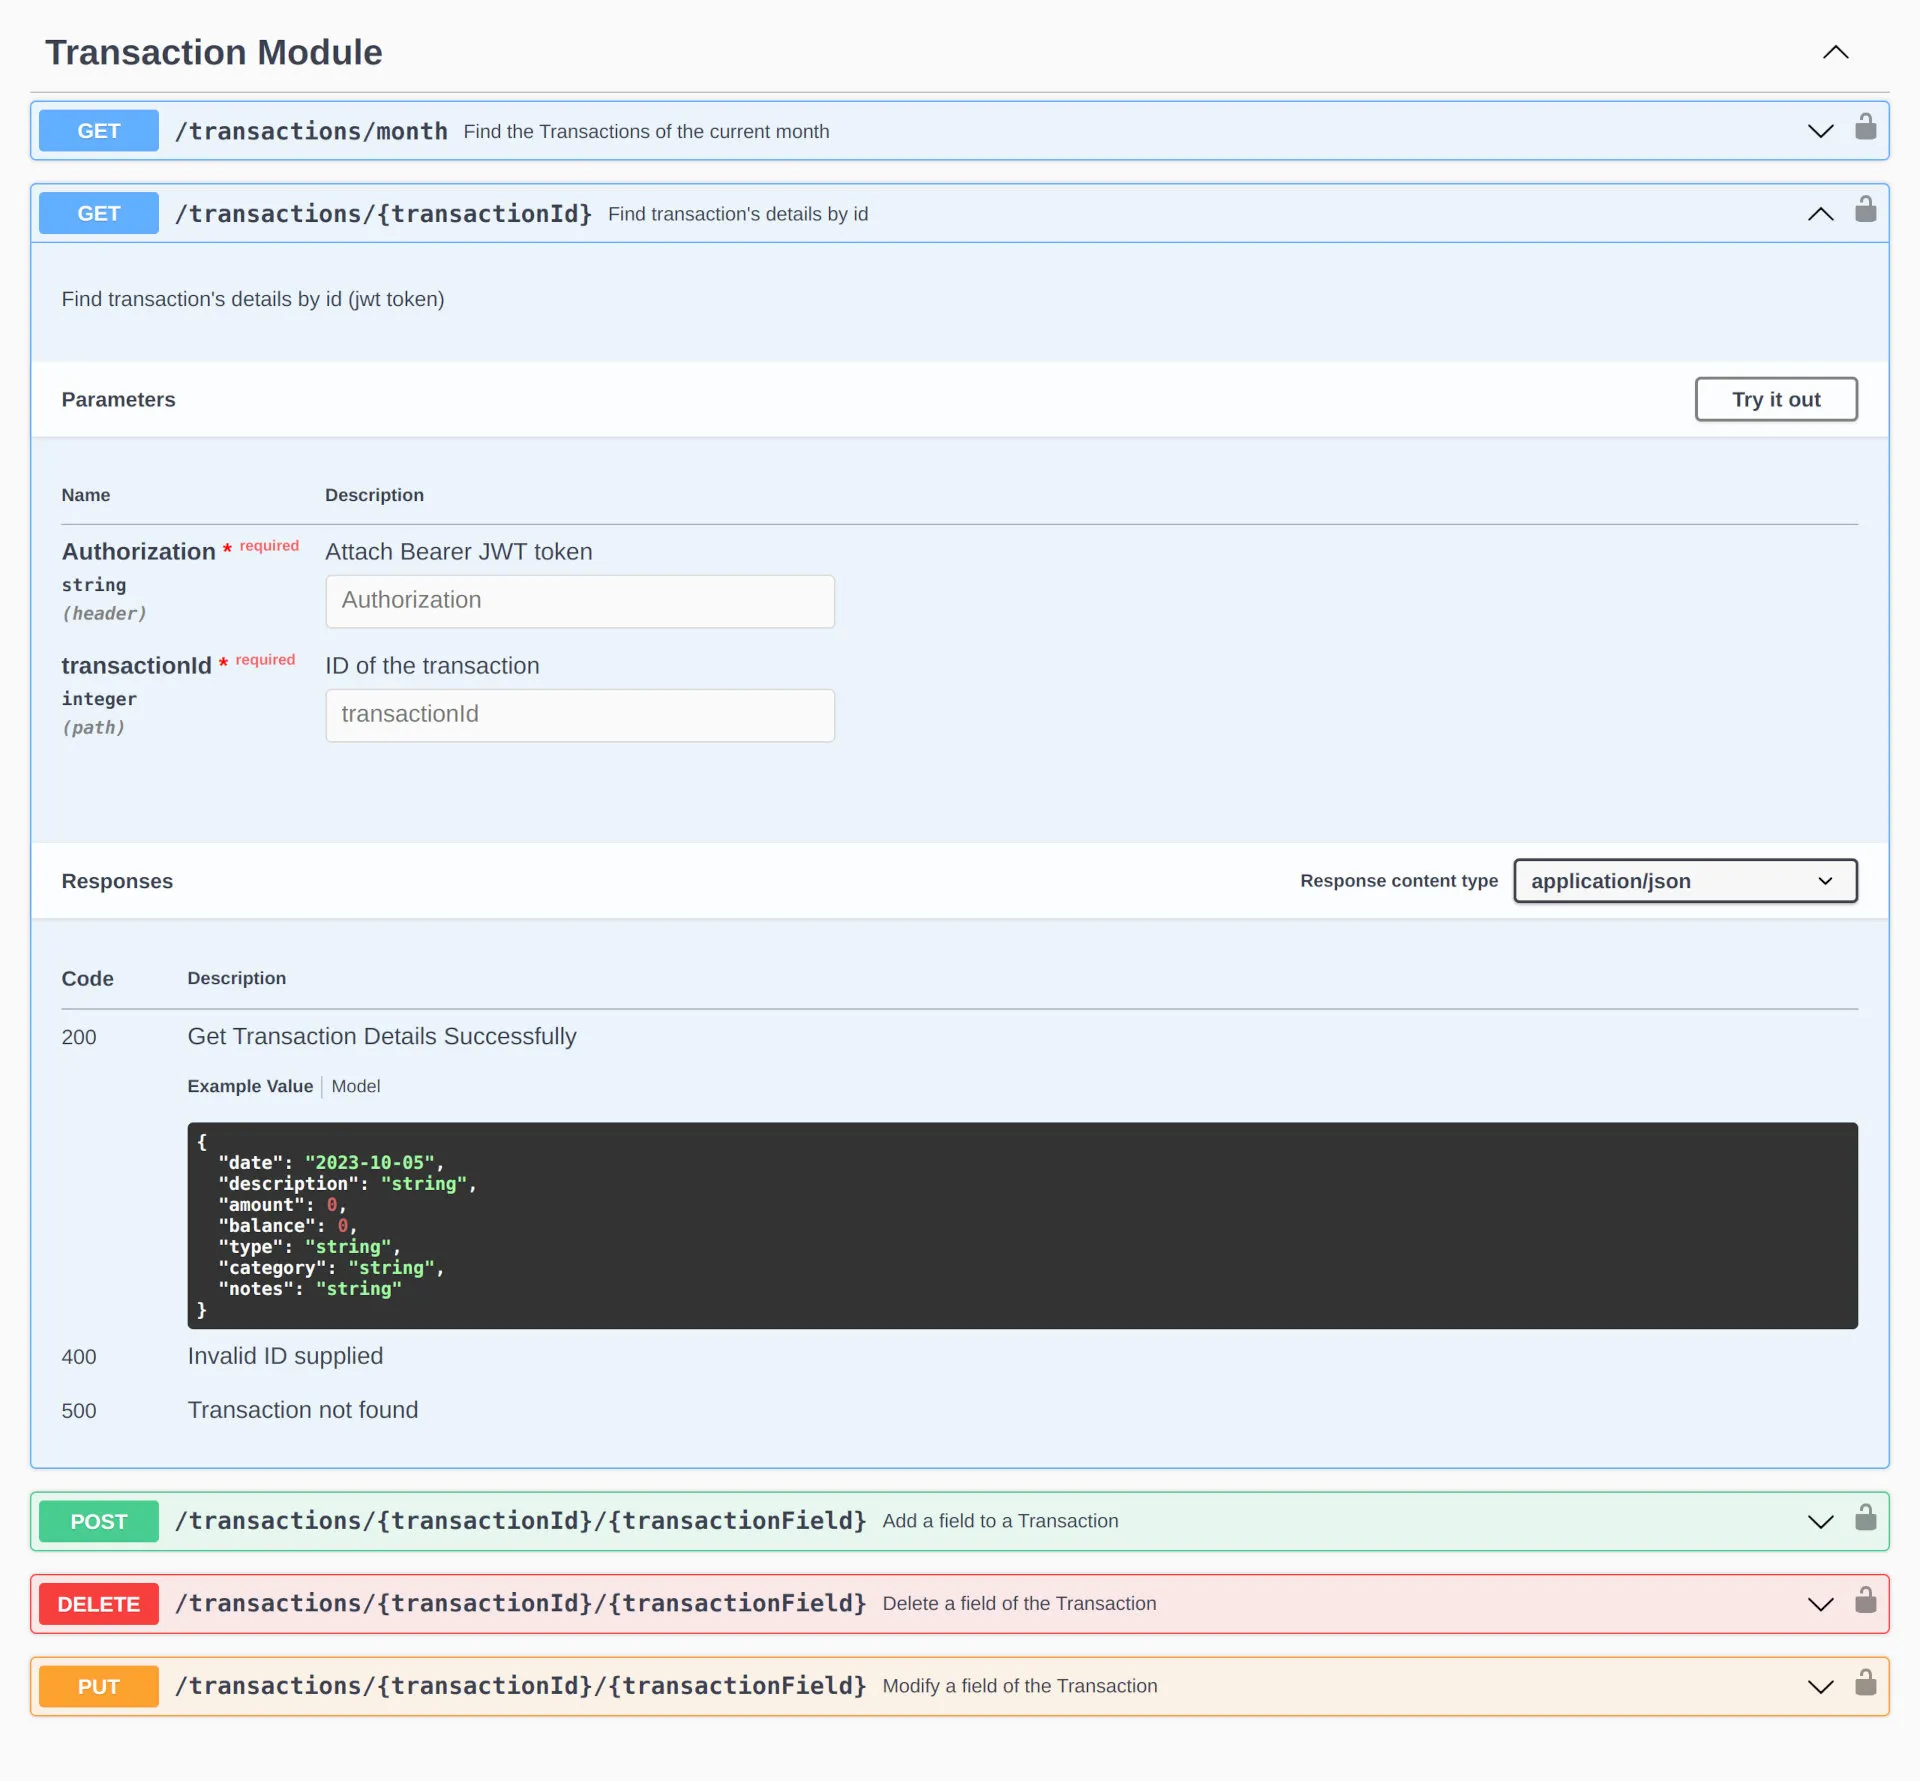
3. Documentation of the API
We used Swagger to add API endpoints in the documentation

  /transactions/{transactionId}:
    get:
      security:
        - Bearer: []
      tags:
        - Transaction Module
      summary: Find transaction's details by id
      description: Find transaction's details by id (jwt token)
      parameters:
        - in: header
          name: Authorization
          description: Attach Bearer JWT token
          required: true
          type: string
Things I’ve Learned
- Authenticate to an API
- Model an API
- Interact with an API
- Implement a state manager in a React application
👉 I’ve written also two articles on LinkedIn and Github/gists about RTK: